Sky Cams
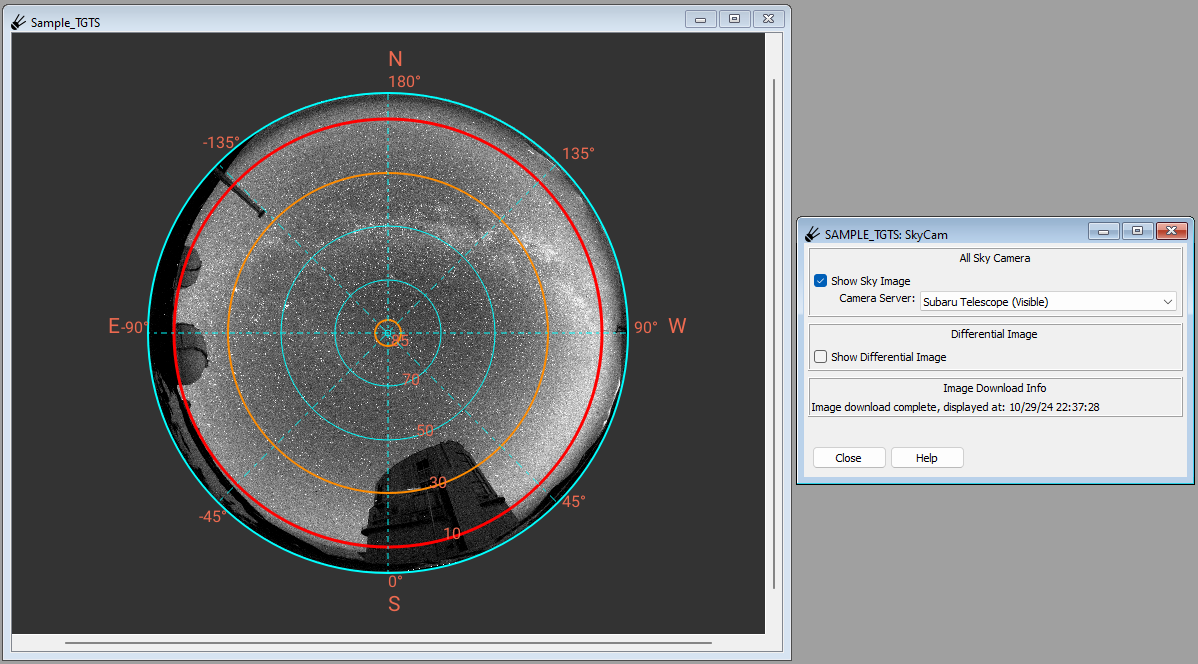
The SkyCam plugin is used to place an all sky camera image on the background of the Targets channel to assist with monitoring sky conditions. There is a drop-down menu with several sites to choose from.
Setting the Sky Image
Select the camera server you would like to use from the drop down menu under “All Sky Camera”. Then, press the checkbox next to “Show Sky Image” to display the image in the Targets channel. It may take a few moments before the sky image appears in the channel. When the image updates, the time and date of the last image will be displayed at the bottom of the window underneath “Image Download Info”.
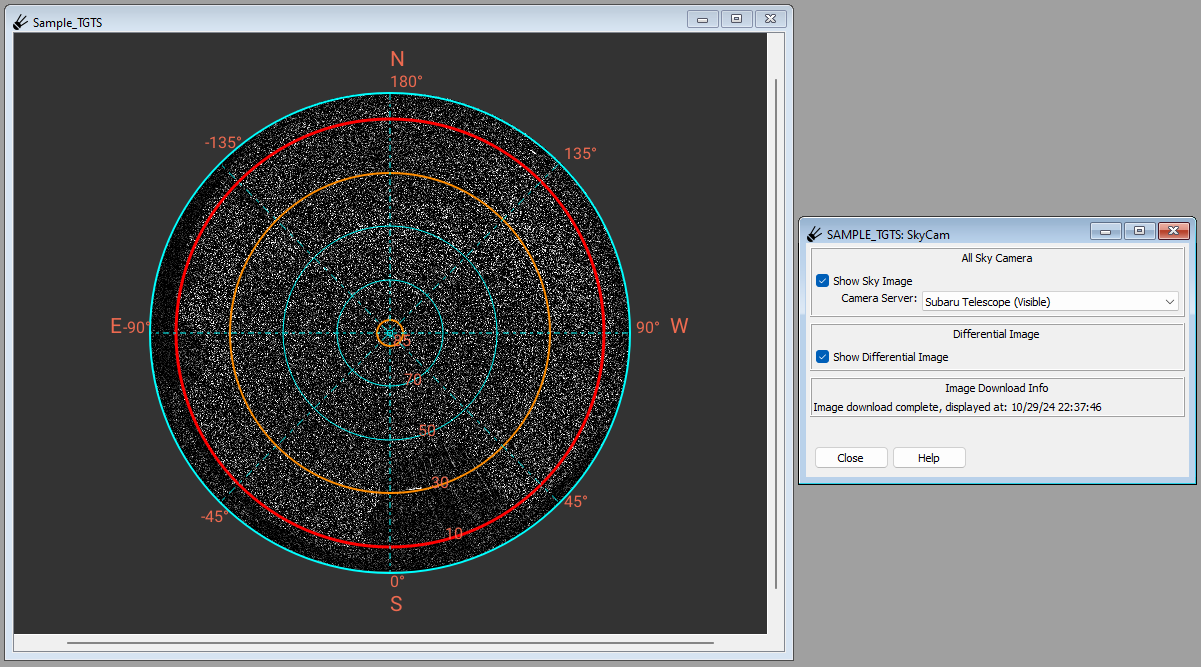
The SkyCam plugin can also generate a differential image from the selected channel server by selecting the checkbox next to “Show Differential Image”.
Adding new cameras
You can easily add your own all-sky camera images if you have a suitable feed of images that can be fetched via web protocols. If you have the SPOT source code checked out, you can find the file “skycams.yml” in …/spot/spot/config/. Copy this file to $HOME/.spot and edit it to add your own camera. You will need to provide a URL for downloading images, a title, a center pixel (X and Y coords) in the image representing the zenith, the radius of the circle to the horizon in pixels, a rotation to be applied, whether to flip the image in X or Y dimensions, and an update interval measured in seconds.
Restart spot and you should be able to pick your new camera from the list.